.jpg)
So if you haven’t read PART ONE of party planning in collaboration with Ruby and Roo, check that post out here…
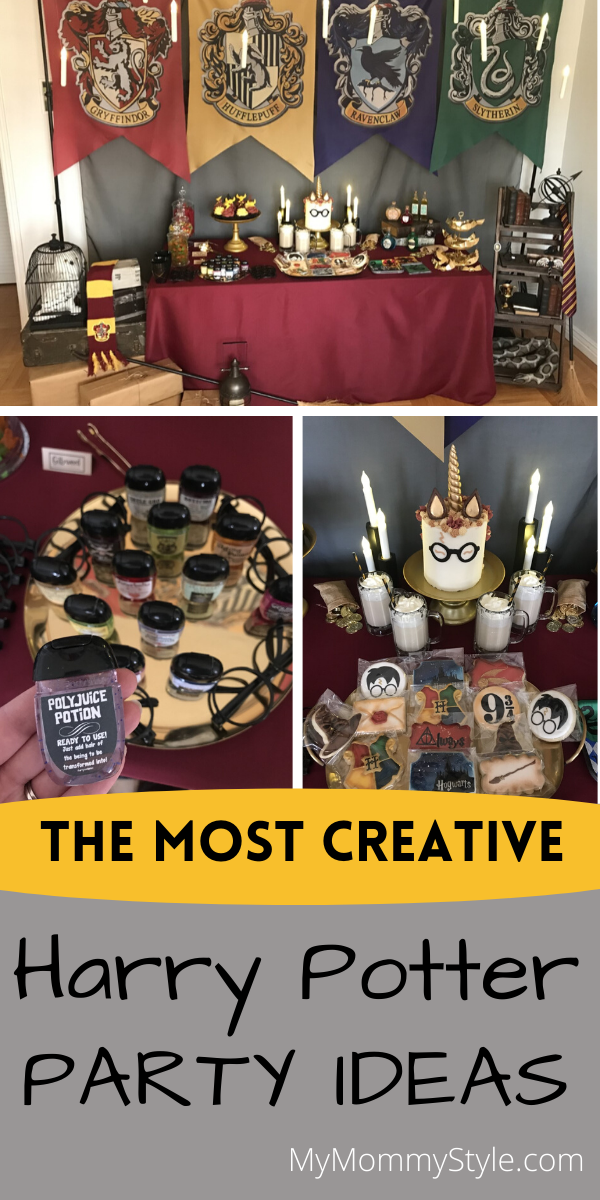
This is a party that Ruby and Roo helped with to plan a Harry Potter birthday party for my baby turning one. I will be soon adding a part 3 to this installment to share with you the pictures from our actual party. Until then, enjoy these amazing ideas!
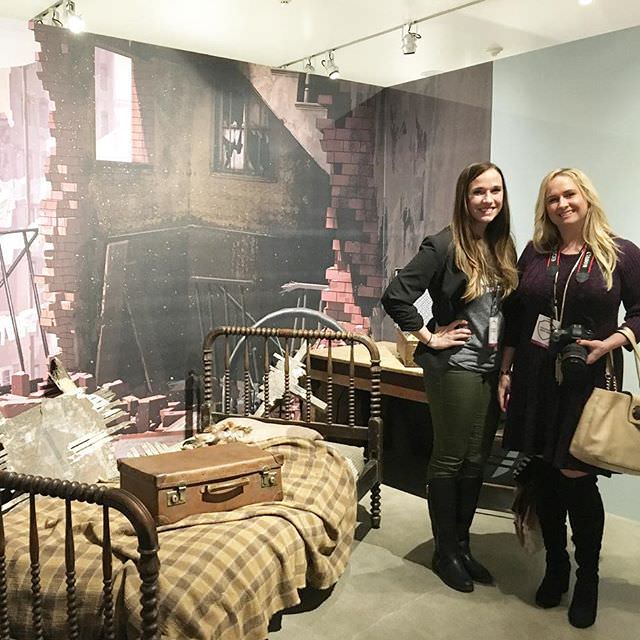
Ruby & Roo is the collaboration between two dear friends who have a collective 30 years of experience working with children. The idea for Ruby & Roo came about because we felt that there was a gap in the market for a completely bespoke and high-end children’s party planning company in London.
Invitations
.jpg)
Make an aged paper scroll, which has been dipped in tea and written with a calligraphy pen, and then place in an envelope with a red wax self-adhesive seal or red ribbon. Print some Hogwarts house ties and use them as invitations – you can ask you’re guests to color them in in their favorite house’s colors and wear them to the party!
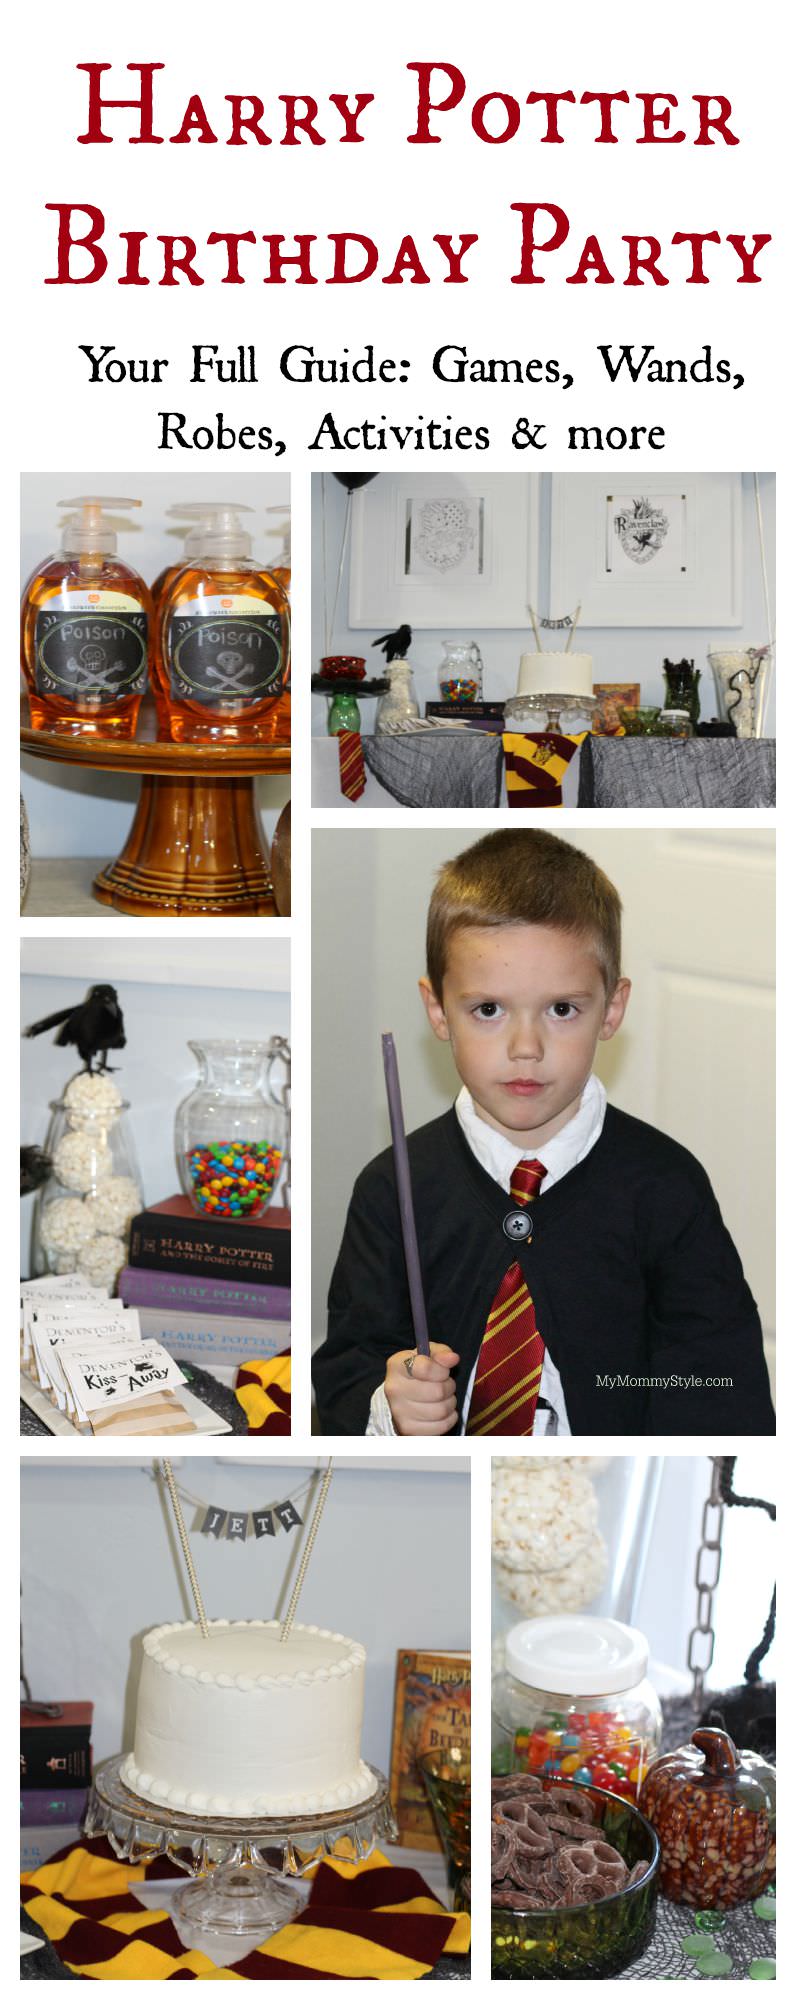
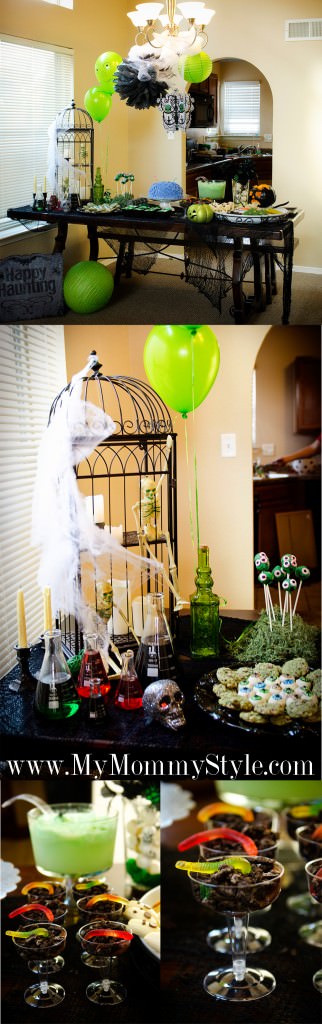
Decorations/ Props
Here you could have Harry Potter Glasses, make a wands, Albus Dumbledore wizard hats, wooden wands, Hogwarts ties and capes, vintage keys, test tubes and potion jars (mix water with food coloring and label ‘truth serum’ or ‘dragon spit’, black lentils for bats eyes, dirt and water for hollow stump soil, spaghetti with red sauce for blood worms. Place potion jars like those found in Snape’s cabinets as a centerpiece.
Cauldrons, projector screen with Harry Potter movies playing or the sound track, WANTED posters featuring pictures of Lord Voldemort, Nimbus 2000 broom sticks, crystal balls and a 9 ¾ Front Door. Here you can make your front door as the grand entrance you can make this made with a sheet, spray paint, and scissors, so fun to run through at the start of the party!
You could make bunting shields with names of harry potter characters:
Games / Entertainers
Who Am I – Pin a piece of paper onto the children’s backs with the name of a character from the Harry Potter books (give the easier characters to the younger children i.e. Ginny, Ron, Hagrid). The children must then move around the room asking questions about their character, which can only be answered with “yes” or “no”. Examples are “Am I a wizard?” “Am I a muggle?”, “Am I good at magic?” and so on.
Have a Treasure Hunt, using place-names from the books. Tell the child that each area in which they will be hunting has a particular name. For example, the garden might be the grounds of Hogwarts, the sitting room might be Diagon Alley, and the kitchen might be Hagrid’s hut. Write your clues so that the children have to find a letter in each location, which can be unscrambled at the end to produce a suitable Harry Potter word – perhaps, Hogwarts, or Gryffindor.
Face painters painting the different characters on the children’s faces or just with harry potter themes i.e. a frog or a wizard etc.
Entertainers dressed up as Wizards to add to the theme.
Animal Man – real live owls, mice and creepy crawlies.
Food Suggestions
Add vanilla ice cream to cream soda and serve in large plastic mugs like the Butter Beer
Chocolate frogs Pour melted chocolate in frog candy molds and let them harden.
Snitch cup cakes
Jellybeans
Maruder’s Map cookies
Colored or golden Dragon Eggs
Pumpkin Pasties
Chocolate wands
Popcorn
Giant snakes
Sparkling Orange drinks can be named ‘pumpkin juice’
Roasted potato wedges
Treacle Tart
Bread stick wands
Pumpkin Juice
Harry Potter Food Recipes Supplied by The Bakery Lounge
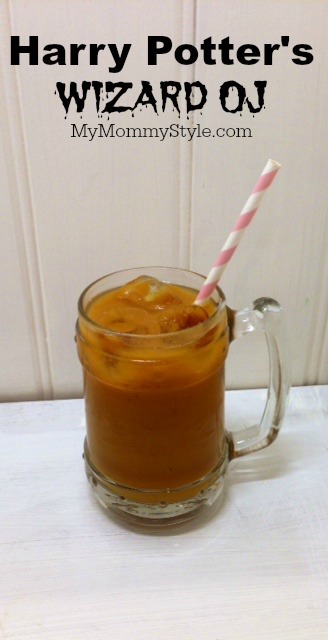
The wizard’s OJ – a great favorite in the wizarding world and perfect for those cold autumn nights!
Ingredients
Serves: 2L
• 3 cups canned pumpkin pie mix
• 6 cups apple juice
• 1 cup pineapple juice
• 1 tsp. cinnamon
• 1 tsp. honey
• Ice Cubes (optional for serving)
Instructions
Place all ingredients into a blender and blend until fully combined. Have a taste – you can continue to add spices if you like it on the more fiery side! Once combined pour it into a jug and leave in the fridge to chill. The mixture will thicken up in the fridge so give it a good stir before serving. If you wish to have it be thinner, then you can add a more apple juice to the mixture once chilled.
Hungarian Horntail Dragon Eggs
Hogwart’s school motto is “Draco Dormiens Nunquam Titillandus” or “Never tickle a sleeping dragon”, but their eggs certainly make a tasty treat if you are brave enough!
To create your Dragon eggs you will need to hard-boil the eggs first. Once they are ready and cooled take a teaspoon and very carefully – keeping the eggshell intact – create cracks in the eggshell. Once the eggs have rested in the soy mixture and are ready to be peeled, a beautiful shattered pattern will be revealed where the mixture has seeped into the cracks.
Ingredients
• 12 eggs
• 1 & 1/2 cups soy sauce
• 2 cinnamon sticks
• 2 teaspoons granulated sugar
Instructions
• Hard boil your eggs, once they are ready remove the eggs from the pot (leave the water in the pot as you will use it again) and cool the eggs under running water. To form the pattern use the back of a teaspoon gently tapping the eggshell to create cracks all over. Be very careful as you do this, as you want to keep the shell intact.
• Stir in the remaining ingredients into the hot water and pop the eggs back into the pan. Bring the mixture to a boil and then immediately turn the heat to the lowest setting. Simmer the eggs for 40 minutes.
• Once the 40 minutes is up turn off the heat, but leave the eggs in the water for a bit and cover with lid. How long you leave them is up to you, but the longer you leave the eggs to rest in the water the more intensely they will be flavored and patterned.
Bertie Bott’s Every Flavor Beans
“You want to be careful with these. When they say every flavor, they mean every flavor…” Ron Weasley
Required
• Assorted bag of Jelly Belly beans (quantity is up to you & dependent on no of guests)
• Gold edible sparkles
• Small glass bowls
• Paper luggage tag labels
• Black felt tip pen
Instructions
Place all of the jelly beans into a large mixing bowl and dust with the edible gold sparkles – use just enough of the sparkles so the beans twinkle, you don’t want to coat them.
Distribute the mixed up sparkly beans into little glass bowls and use the luggage tags to label the bowls as “Bertie Bott’s Every Flavor Beans”
.jpg)
Mr Ollivander’s Chocolate Pretzel Wands
“The wand chooses the wizard” – Mr Ollivander
Ingredients
• 12 ounce bag of semi-sweet chocolate chips
• 24 pretzel rods
• A variety of sprinkles, candies or decorating sugars
• Gold edible glitter
• Glass jars or bowls for display
Instructions
• Lay out some greaseproof or wax paper for drying the pretzels
• Melt the chocolate chips in the microwave – you don’t want to burn the chocolate so cook for 30-second intervals stirring in between. Microwave until the chips are fully melted.
• Dip one half of each pretzel into the melted chocolate and then dip the coated end of the pretzel into the sprinkles / candy decorations
• Leave the pretzels to set on the greaseproof / wax paper.
• Once they are set dust with edible gold glitter and set your sparkling wands standing up in a bowl or jar
Nimbus 2000 Broomstick Birthday Cake
“One of the Nimbus Racing Broom Company’s most successful models. Highly reliable with good speed and exceptional handling — not for beginners!”
You will need
• 4 x 9 by 12 inch cake pans (you will be carving the sponge so if your pans are a slightly different size this is okay)
• Display board roughly 12 by 40 inches long
• 2 kilos chocolate or brown colored sugar paste / roll out icing
• 150g yellow sugar paste / roll out icing
• Yellow writing icing
• Red writing icing
• Gold edible sparkles
Vanilla Birthday Cake Recipe
• 6 cups all purpose flour
• 2 tablespoon baking powder
• 2 cups unsalted butter, (softened)
• 3.5 cups granulated sugar
• 8 medium eggs, (room temp)
• 4 teaspoons vanilla extract
• 480ml semi-skimmed milk
• Yellow coloring paste
• Red coloring paste
.jpg)
Buttercream Frosting Recipe
• 8 cups icing sugar
• 2 cups unsalted butter, (softened)
• 2 tablespoon vanilla extract
• 6-8 tablespoons semi-skimmed milk
.jpg)
Birthday Cake Bake Instructions
• Preheat the oven to 180 degrees Celsius / 350 degrees Fahrenheit
• Grease and line your baking tins with baking parchment
• In a medium-mixing bowl, sift together the flour and baking powder.
• In a separate bowl beat the butter until soft and creamy (either an electric or hand mixer is
fine). Add the sugar and combine with the butter – beat until light and fluffy.
• Add the eggs one at a time beating well, until combined. Mix in the vanilla extract.
• Alternately add the flour mixture and milk to the wet ingredients each in three stages. Fold the flour and milk into the batter by hand.
• The batter should be smooth and will be fairly thick.
• Divide the batter equally into two mixing bowls and color one batter red and the other batter yellow with the pastes. Very gently fold in the colors by hand and be careful, as you don’t want to over mix at this stage.
• Evenly divide the batter between the four tins – you should have two cake tins of yellow and two tins of red – a springy to touch and a knife comes out clean. Once the cakes have risen and the crust has started to bake loosely cover with foil for the rest of the bake so the crusts don’t burn.
Buttercream Frosting Instructions
• Use either a hand or electric mixer and beat the butter until soft and creamy. Mix in the vanilla.
• Add the icing sugar gradually mixing on low speed until fully combined. Add the milk as needed.
• Beat on high speed until it is smooth and fully combined. Add more icing sugar as needed and mix until you are satisfied with the consistency.
• Refrigerate for 15 minutes to chill.
To assemble the cake
• Once your cakes have cooled release them from the tins. Set one of the yellow sponges to one side.
• Take the other three sponges and sandwich together with buttercream. Have the sponges stacked in alternate colors – Red, Yellow, and Red. Place in the fridge for ten minutes to set.
• Remove the stacked sponges from the fridge and carefully carve the head of the broom out.
Position so the cake is portrait-wise to you so you can carve each side evenly. Use the whole length of the sponge and carve a long bell shape out. You don’t want the base to be too wide, but equally you want there to be plenty of cake! So carve a little off at a time until you are totally happy with the shape or even make a template if you wish. If you like you can keep the scraps of sponge and use it to make cake pops.
• Frost the stacked sponges with buttercream and place in the fridge until the buttercream is firm but not cold.
• Once the buttercream is firm, remove the sponge from the fridge and set to one side while you roll out your chocolate sugar paste. Position the sponge onto the display board so it is over to the left side and centered on the board leaving a little space from the left edge.
• Cover with the chocolate sugar paste and while it is still soft use the back edge of a knife (as you don’t want to cut the sugar paste) to etch lines into the broom to create a twig effect. The lines don’t have to be straight and can overlap, as it would be naturally random.
• For the broom handle take the fourth un-iced cake and position so it is portrait-wise to you and cut it in half. Sandwich the two halves together with buttercream and cut the sponge in half again. You should now have two long thin-stacked sponges. Cover each of these with buttercream and place in the fridge until the buttercream is firm but not cold.
• Position the broom handle sponges so they are in a straight continuing line from the top of the broom head on the display board.
• Roll out a piece of chocolate sugar paste that is big enough to cover one half of the broom handle. Cover and shape the sugar paste to the sponge. Repeat for the second half so both sponges are covered. Let the sugar paste overlap slightly where the joins are so there are no exposed buttercream gaps. Smooth the joins with your fingertips while the sugar paste is still soft.
• Roll out a strip of yellow sugar paste about 1.5 – 2 inches wide and long enough to completely hide the join between the broom head and the handle.
• Roll out two sausages of yellow sugar paste each about 4 inches long and 0.5 inches thick and position them onto the display board either side of the yellow strip where the handle and broom join. Position each of the sausages so they are in a curling S shape coming straight up from the head of the broom. Make sure they mirror each other on each side of the broom.
• Roll and cut out two small leaf shapes in the yellow sugar paste about 1 inch long by 0.5 inches wide. Roll the remaining yellow sugar paste into a yellow ball and fix onto the board at the front by the broom head with a tiny amount of buttercream. Fix the leaf shapes in place either side of the ball. Dust the leaves and ball with gold sparkles – you have your Golden Snitch.
• Pipe the words NIMBUS 2000 at the top of the broom in the yellow writing icing.
• Pipe a birthday message on the board in front of the broom in a mix of red and yellow for Gryffindor colors!
.jpg)
Gift Bags
Hogwarts Express Trains
Bubble Mixture
Harry Potter coloring pages + puzzles
Potion Cake Pops
Popping Candy
Death Eater masks
Chocolate gold galleons (coins)
Toy dragon
Quidditch Rule Book
Check back soon to see what I did to put this party together! You can also check out these posts to inspire you further:

5 essential party planning tips
Don’t forget to like us on Facebook, follow our YouTube Channel, and watch our day to day happenings on Pinterest and Instagram!
Linked up with Posed Perfection, Saving 4 Six, The DIY Dreamer and Tidy Mom.

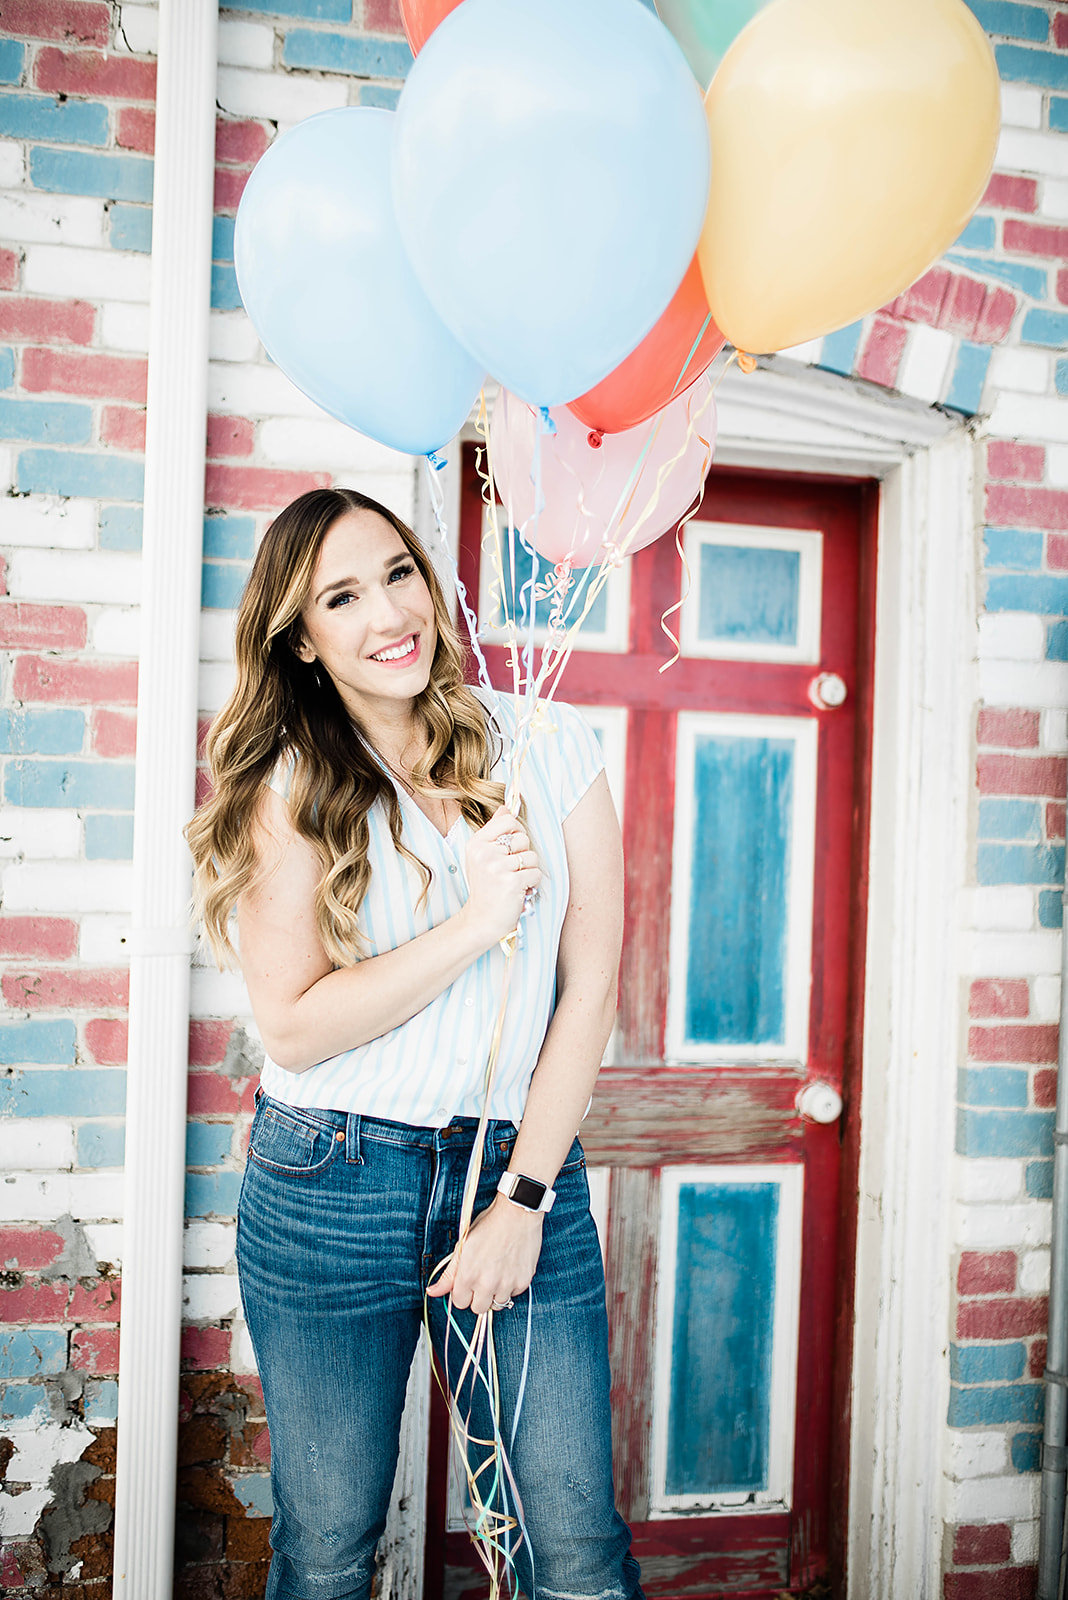
Hello! I am Camille, a wife, mother of four, Disney obsessed, certified teacher, and believer in creating your best momlife the way you see fit. Motherhood comes with its ups and downs, my hope is you’ll find something here to make your life a little better/easier. Let’s be friends on social!